8.0 Downloading the Bitstream
At this point, all the hard stuff is behind us. Well, maybe with one exception. If Windows didn't find the right driver for the USB-to-JTAG interface, you could be in for a bumpy road. I think the best way to go about this is to plug in the cable on both ends and fire up the VC707. You should get a window that opens and ask you how to find the driver. If you tell it to search your computer but not the web, it should be able to find it.
If you run into problems, check the Virtex-7 FPGA VC707 Evaluation Kit - Board Debug Checklist.
8.1 Generating the Bitstream
To generate the bitstream, all you have to do is click on Generate Bitstream under Program and Debug in the Flow Navigator. Once it's done, click "Cancel". You should now have a file called clocked_led.bit in the .../clocked_led/clocked_led.runs/impl_1/ directory.
8.2 Sending the Bitstream
Make sure that all the DIP switches are in the proper position: 101. Power cycle the board.
In the Flow Navigator, click on Open Target under the Harware Manager in the Program and Debug section. Click on Open New Target and then keep clicking Next until you reach the Finish button.
It should find your VC707 board under localhost and you should see a window like the one below. You can right-click xc7vx485t_0 and select Program Device.
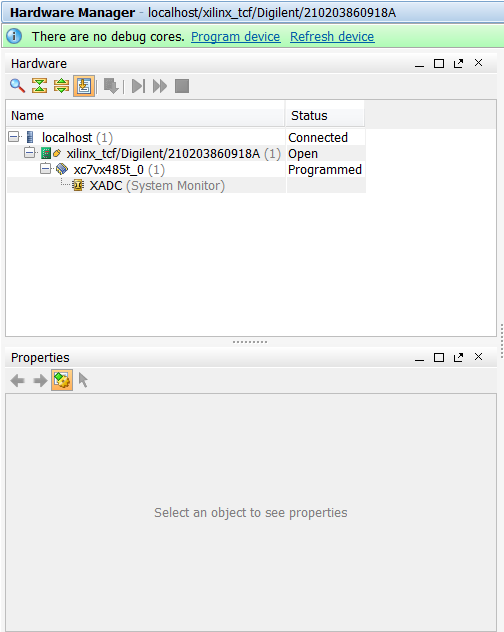
The bitstream file field should be auto-populated with the file you just generated. Click Program and watch the magic happen.
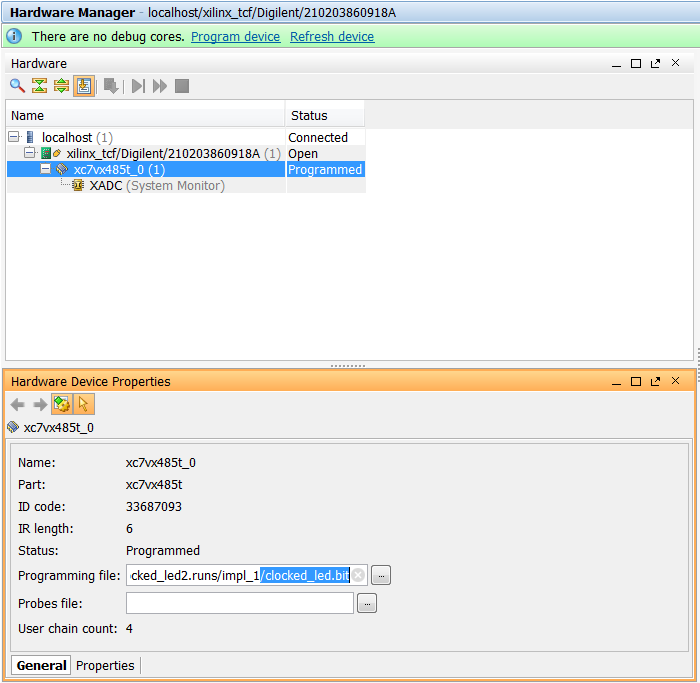
Table Of Contents
- Part 1: Getting Started
- Part 2: Creating the Project in Vivado
- Part 3: Taking a Look at the VHDL Source Code
- Part 4: Creating clk_core With the Clocking Wizard
- Part 5: Source Code for the LED Controller
- Part 6: The Constraints File clocked_led.xdc
- Part 7: Elaborating, Synthesizing, and Implementing
- Part 8: Generating and Downloading the Bitstream