Table of Contents
1.1: Creating the Project in HLS and Importing the Source Files
The first thing we need to do is create our algorithm in Vivado HLS. We'll write the code for it in C++ and then use the tool to turn our code into Verilog, which can then be imported into Vivado Design Suite as an IP package and included in our design. This first chapter will focus entirely on HLS.
1.1.1: Starting the Project in HLS
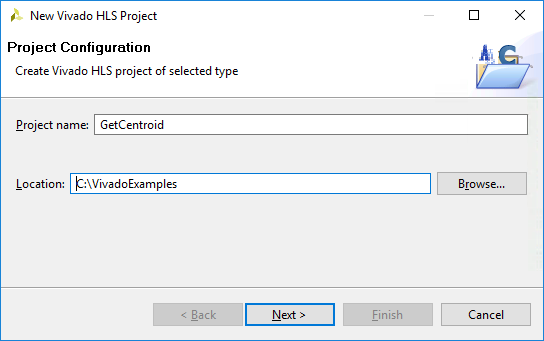
Open Vivado HLS and click on Create New Project. At the first dialog window, enter GetCentroid for the Project Name and choose whatever location you want. I am going to be putting things in C:\VivadoExamples. You are free to choose your own project name and location, but know that it may make things more confusing down the road. The window should look like it does in the following screenshot. Click Next.
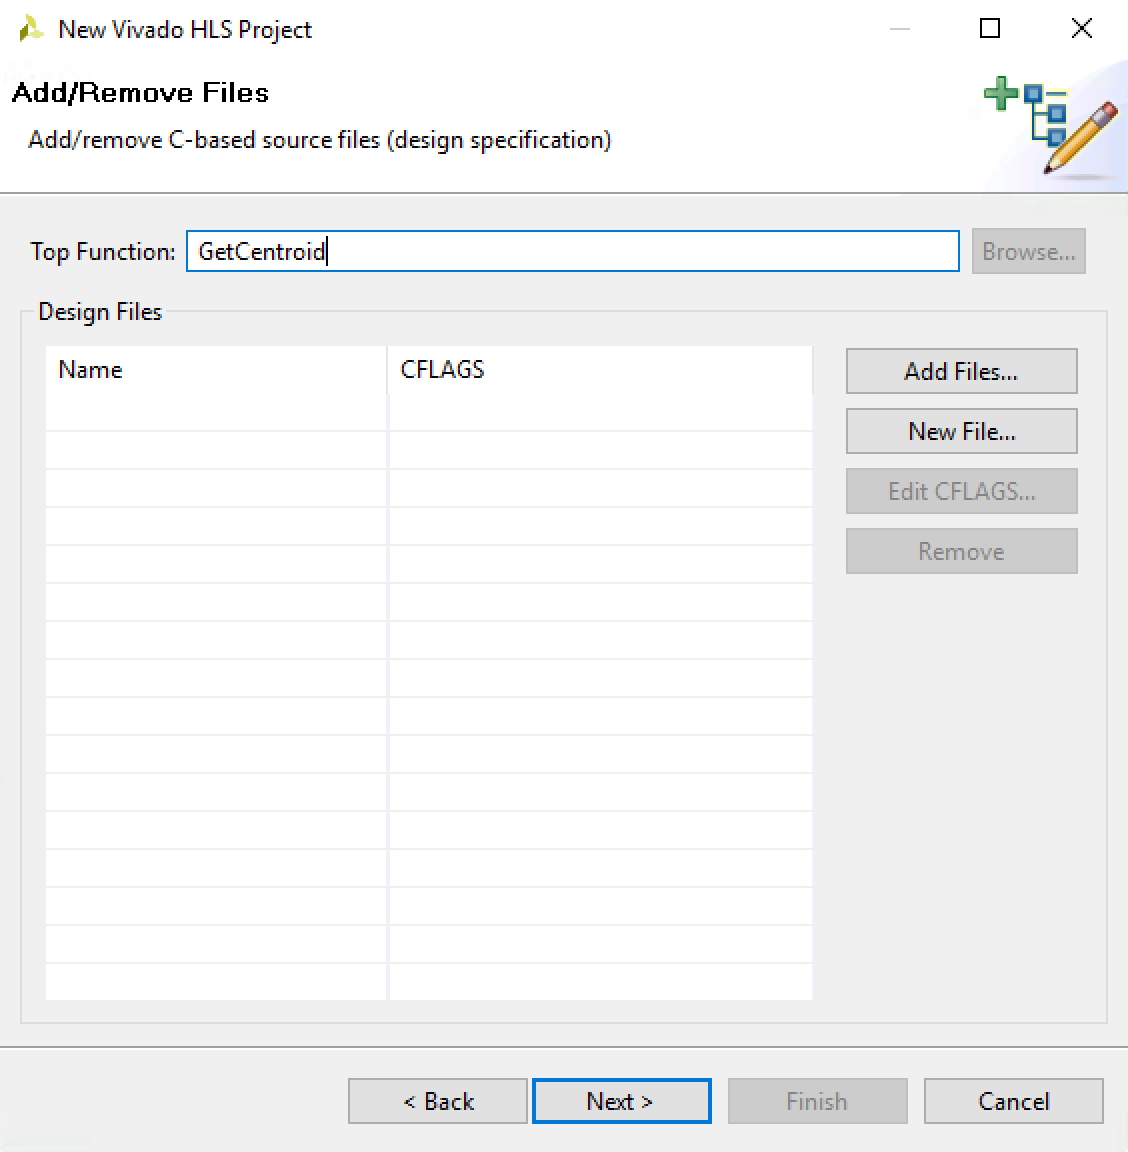
On the next dialog window, Add/Remove Files (for source files), enter GetCentroid in the Top Function text box. This will specify the name of the top-level function in our source code. We're going to skip adding files for now, so just click on Next when your box looks like this:
The reason we're not adding files now is because Vivado HLS doesn't move the files you specify at this point to your project directory , which I find annoying (Come on Xilinx Developers! That should be a gimme!). I like to have all my source files in the same directory as my project files, so we'll add them later.
Skip the next dialog window, Add/Remove Files (for testbench files), by clicking Next again. We'll add our testbench files to the local directory and specify them later.
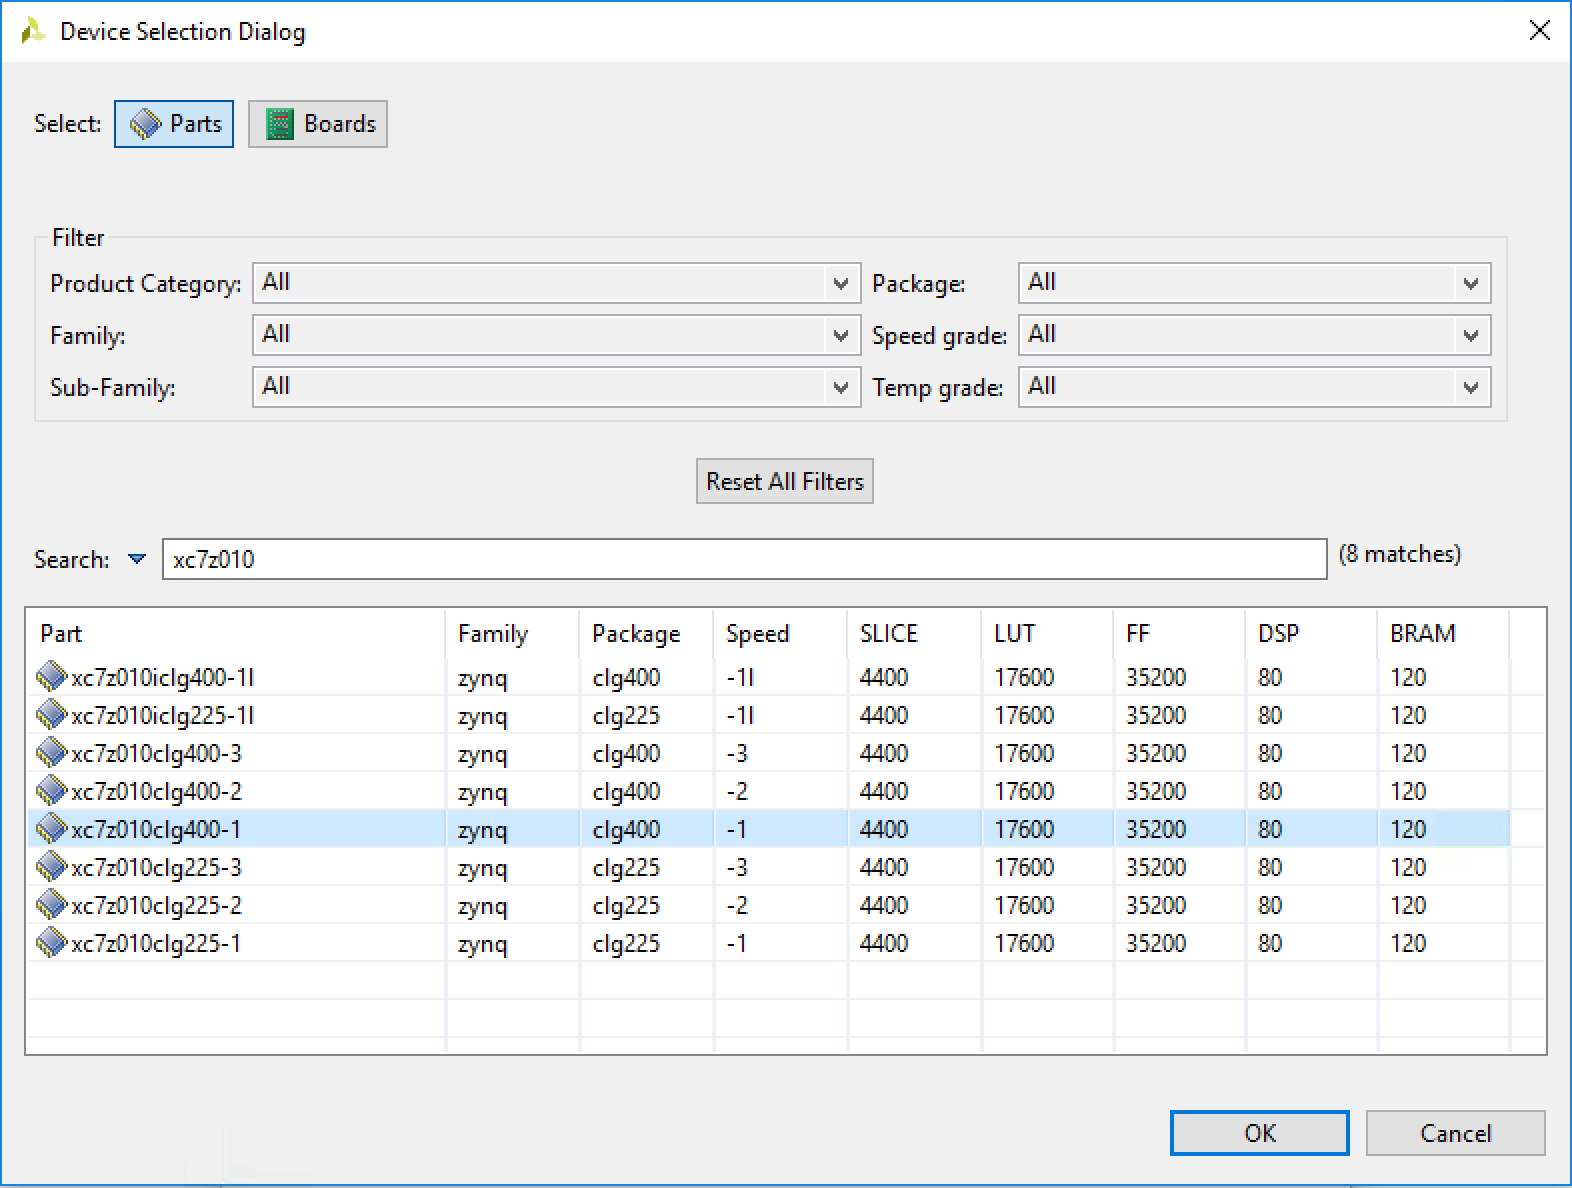
On the next window, we define the part or board that we're going to run our algorithm on. The MicroZed comes with a Zynq7010 with part number xc7z010clg400-1, so we have to specify that here in order for HLS to know what resources are available for synthesis. So enter this part number in the search bar and it should pop up like so.
Click OK and you should see something like this:
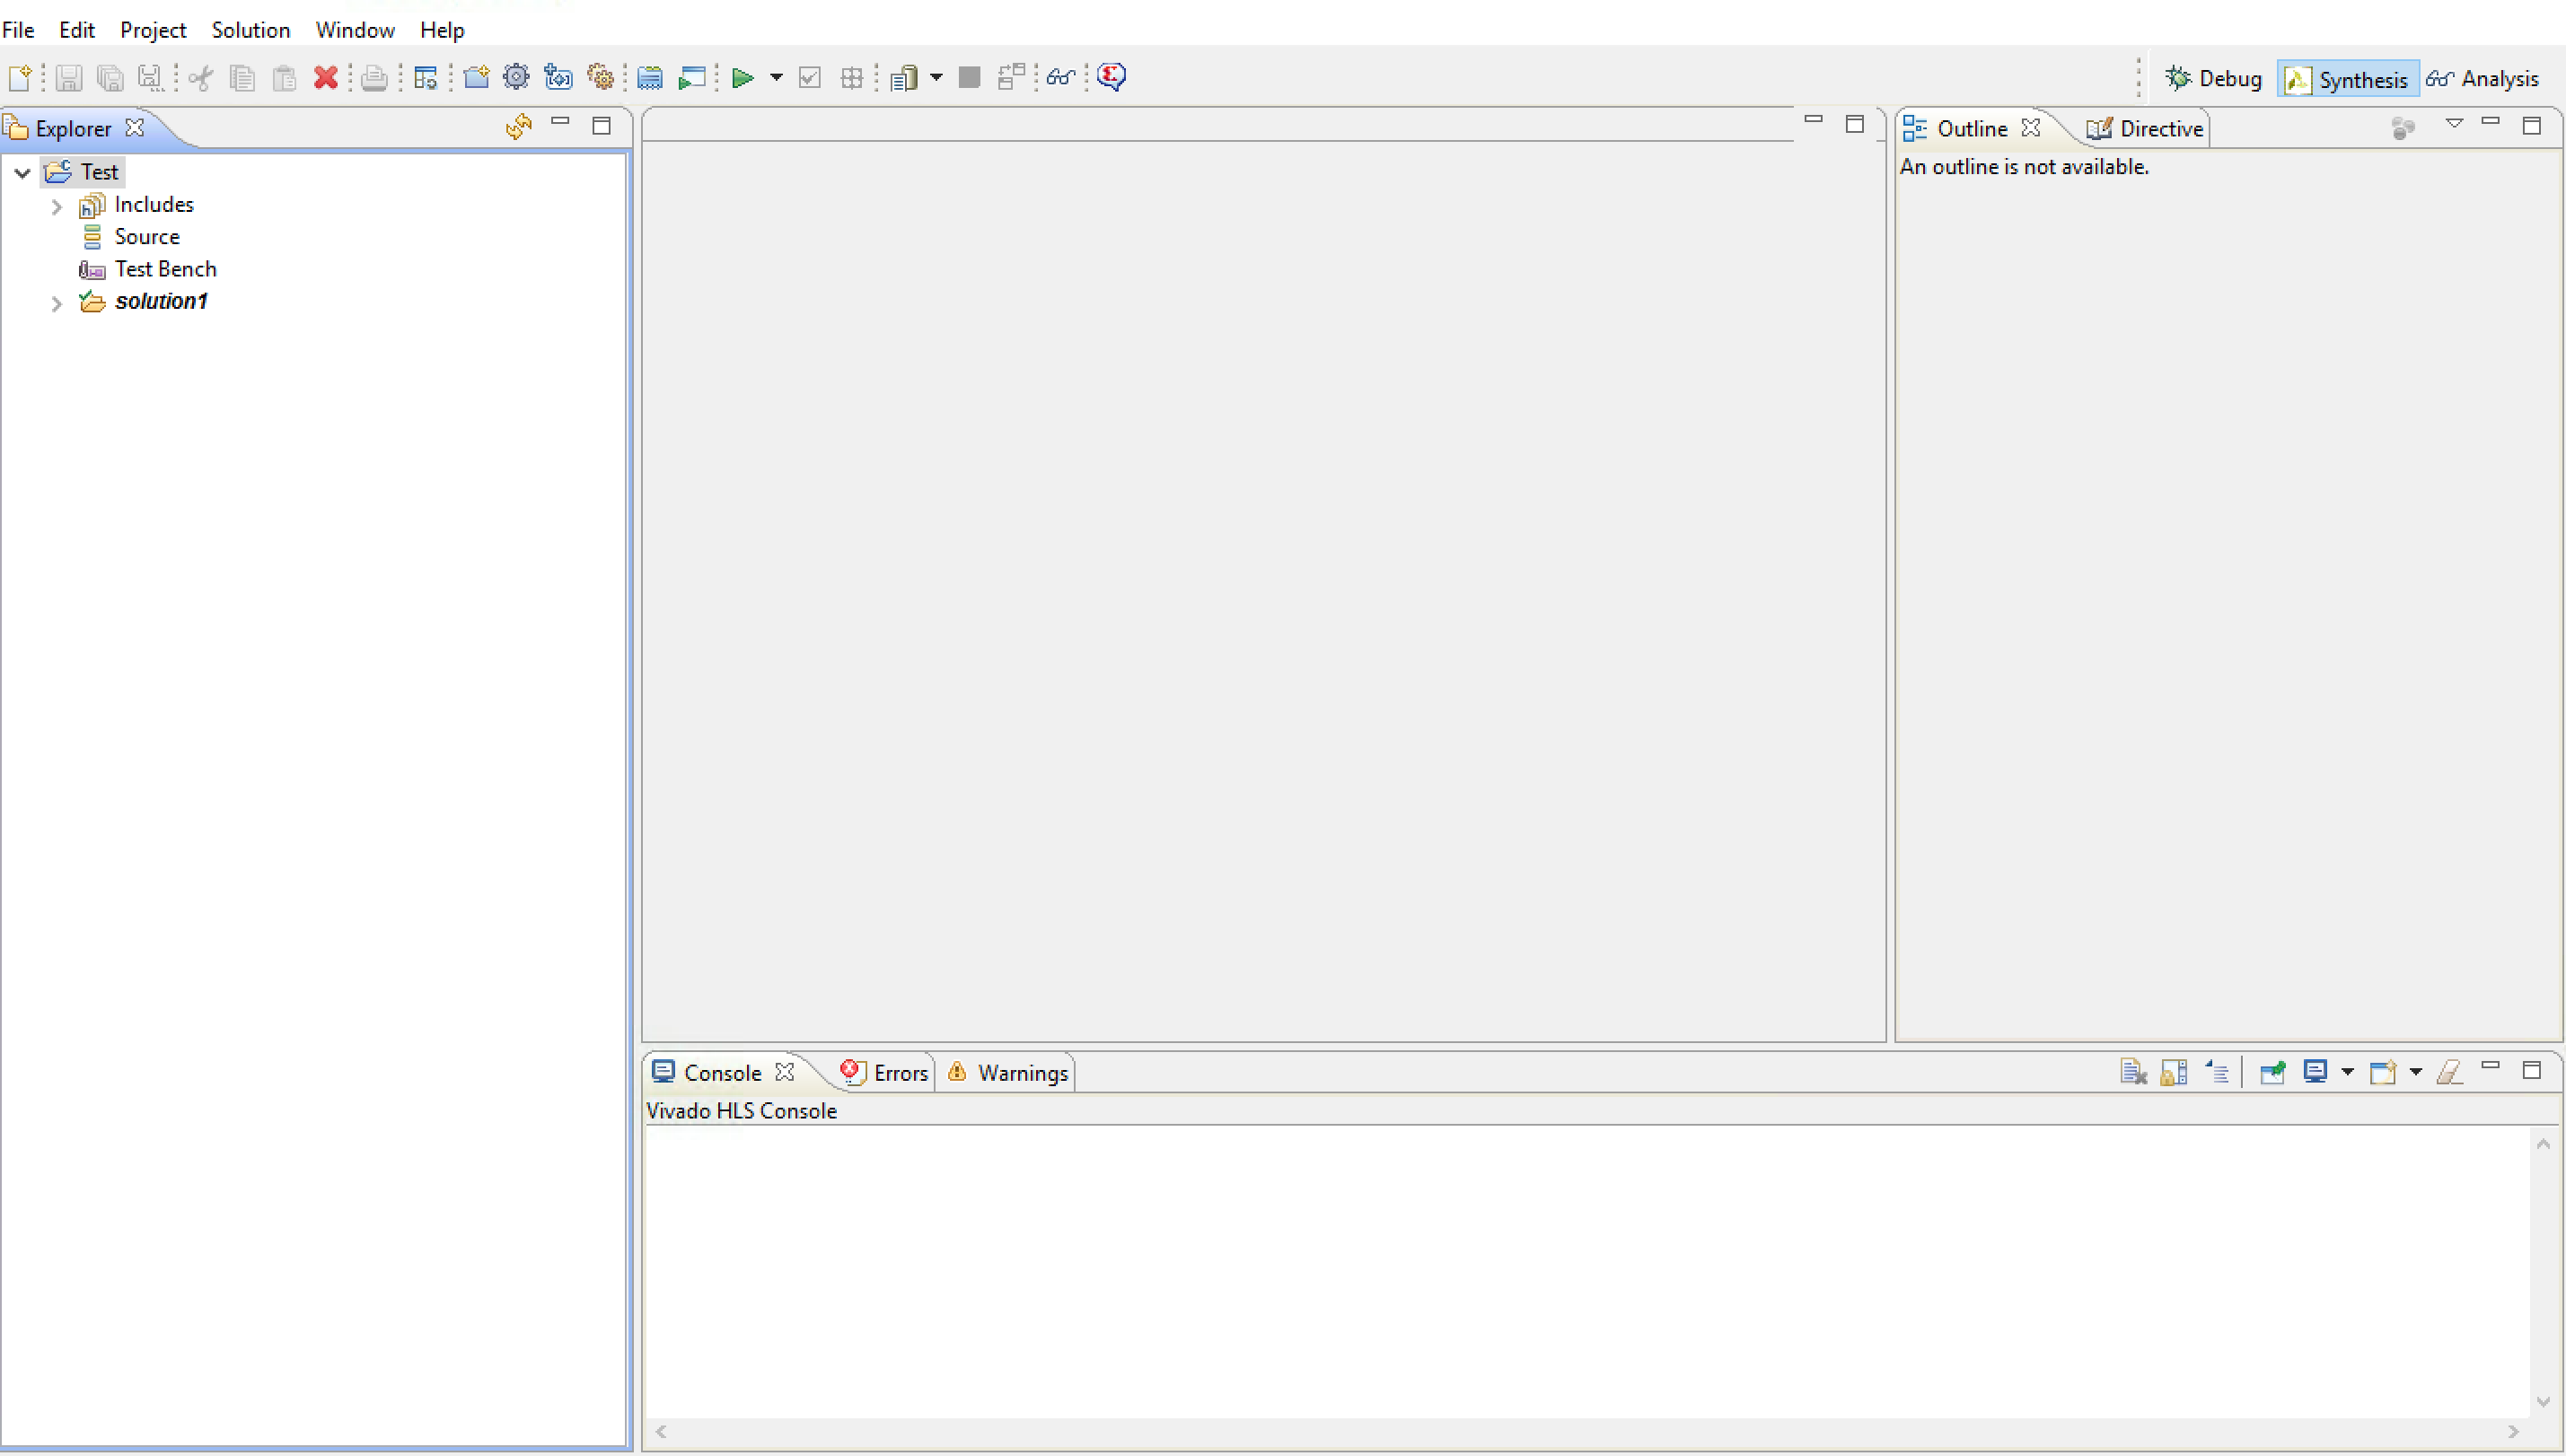
Now we're ready to rock and roll.
1.1.2: Adding the Source and Testbench Files
Now that our project is up and ballin, we need to add some source code. We've got several different files to add and they all do something different. Here is a list of the files you'll need to use at that point, along with a link to each of them:
- GetCentroid.cpp -
The file that contains our algorithm. It basically takes an input stream in and multiplies each element of that stream by the corresponding element of another array, and then does some simple math to get a center-of-mass type quantity. It has a bunch of pragmas and directives you probably won't recognize if you aren't familiar with Vivado HLS. We'll explalin those as we go.
- TestGetCentroid.cpp -
Our testbench file. It emulates whatever type of I/O we're using to inject data into the algorithm as well as whatever results we're taking away from it.
- includes.h -
Simply a nice little include file that allows us to not write redundant #DEFINE statements. I picked up this style of coding early on in my career and it's one of those things that's saved me tons of time over the years. I highly recommend trying to use a structure like this if you have the patience at the outset. It'll save time in the long run without question.
- IndexFile.txt - You may look at this file and say, "Really? We've got a file that's just a bunch of integers increasing monotonically? What the hell is this crap?" Well, the reason I'm including a file like this is because I had a lot of issues getting Vivado to read input files that had real data in them and it drove me a bit nuts (I'll give Xilinx credit: the documentation is there...but it's just not that good). I wanted to include this so I could show an example of how to read input data to save you from the same headaches I experienced when I was getting my project up and running.
Download each of these files and place them in the GetCentroid directory that you just created. You can really put them anywhere you want, but like I said, this way you keep your project self-contained. After you've got them where you want them, click on Project → Project Settings to open up the Project Settings window. Click on Simulation in the left hand panel and once the Simulation Settings menu shows up, click on Add Files. At the dialog window, select the three files TestGetCentroid.cpp, includes.h, and IndexFile.txt. Your window should look like so after you've done this:
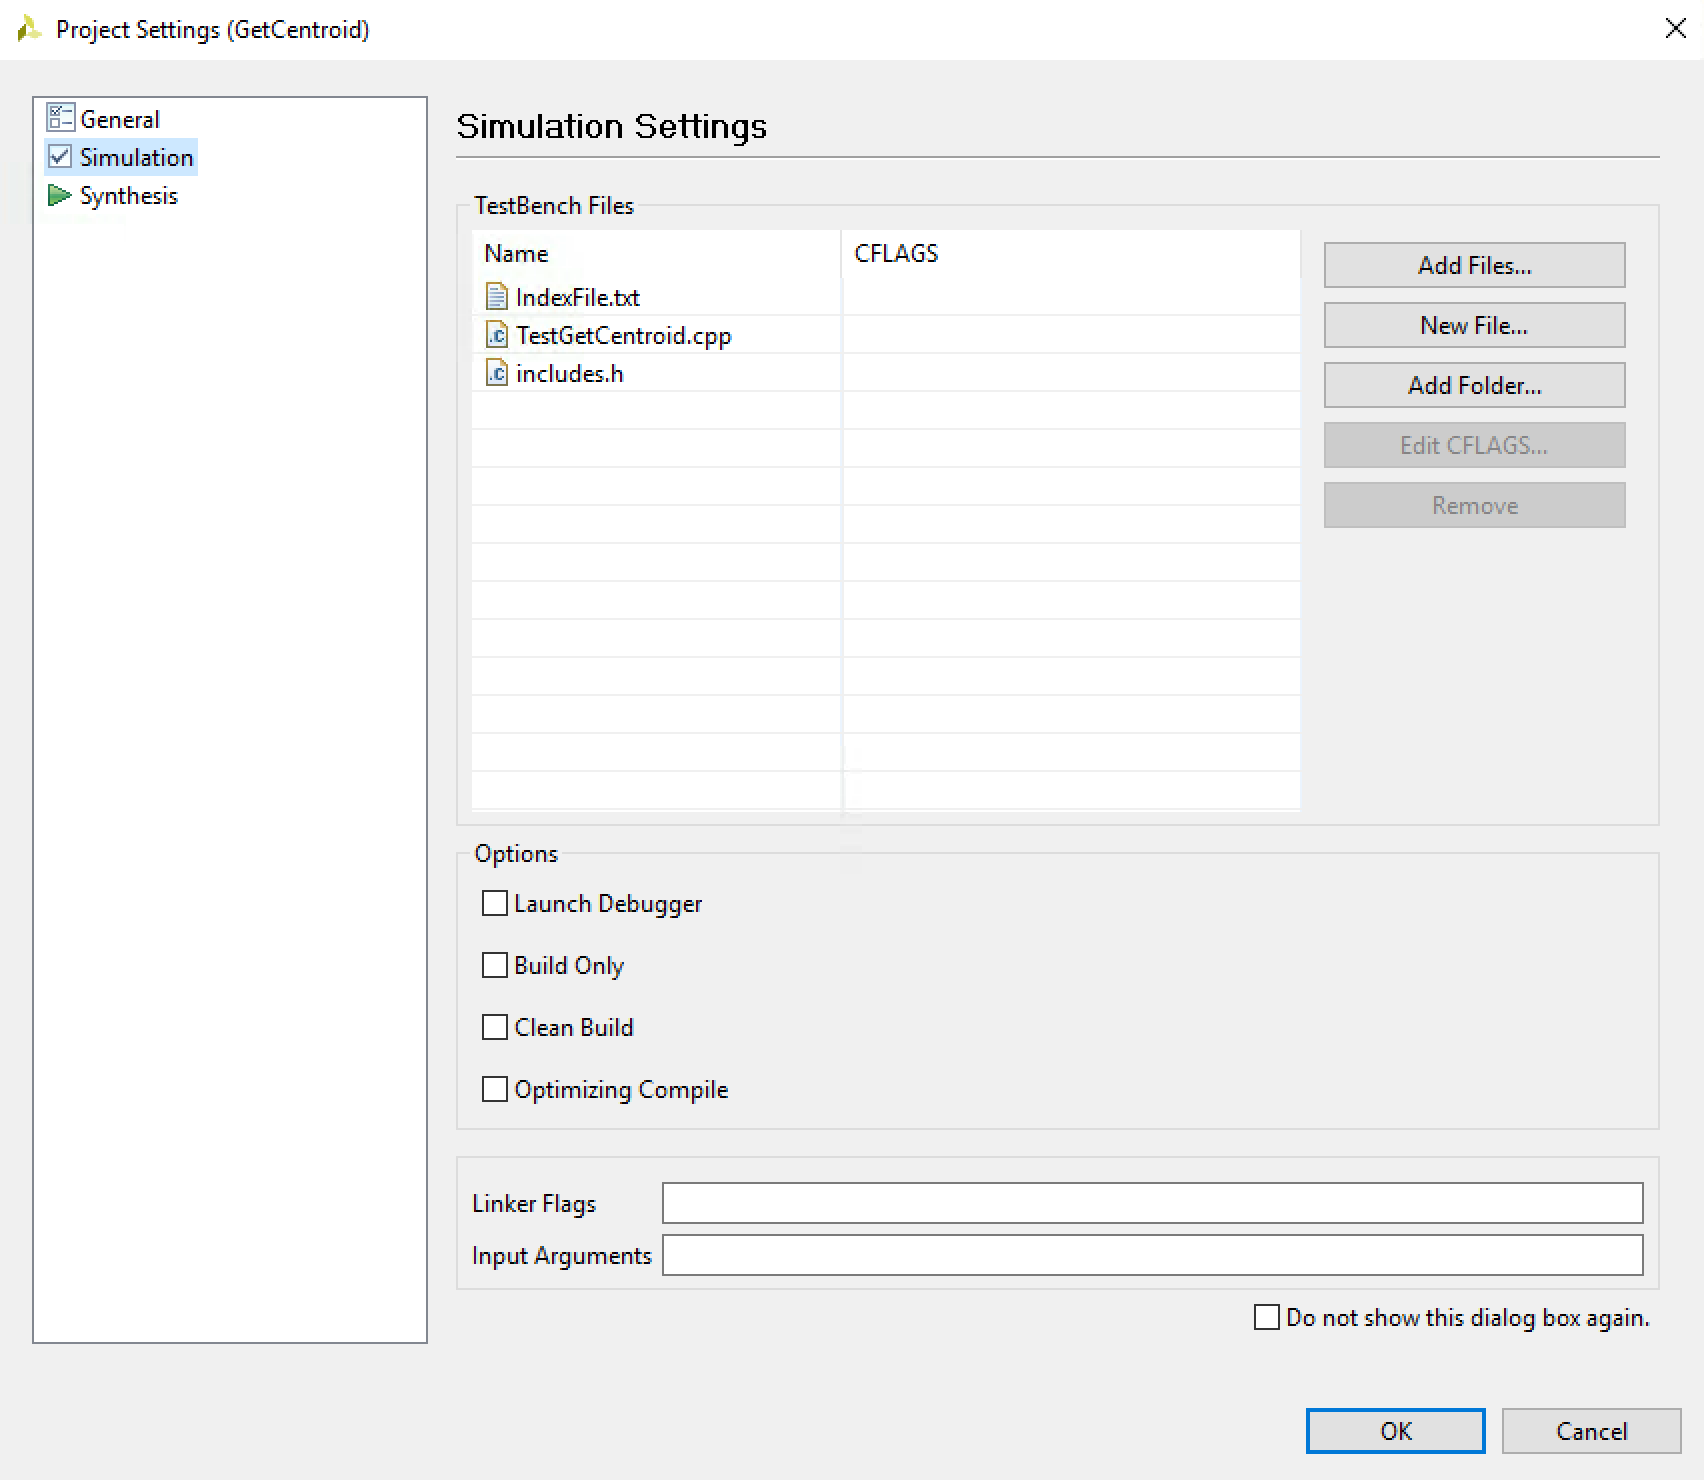
IT IS VERY IMPORTANT TO NOTE: that you must include any data files that you'll be using for input in your test bench here in this table. For instance, if you have some convolution kernel in a file that you need to read into an array, specify it in this table. If you don't do this, I promise no matter how smart and fancy you are with your C++ I/O skills, Vivado HLS won't be able to find it. And what's even worse is that it often times it won't give you half decent error message that explains why it's crapping out.
ALSO, don't try to be fancy and create a nice, organized directory structure for your input data files. HLS will make you pay for this by giving you tons of errors about how it can't find your files, no matter how precisely you tell it where they are. Just put all your files in the project directory and you'll be a happier person. HLS copies them into its own directories when it does its stuff anyway.
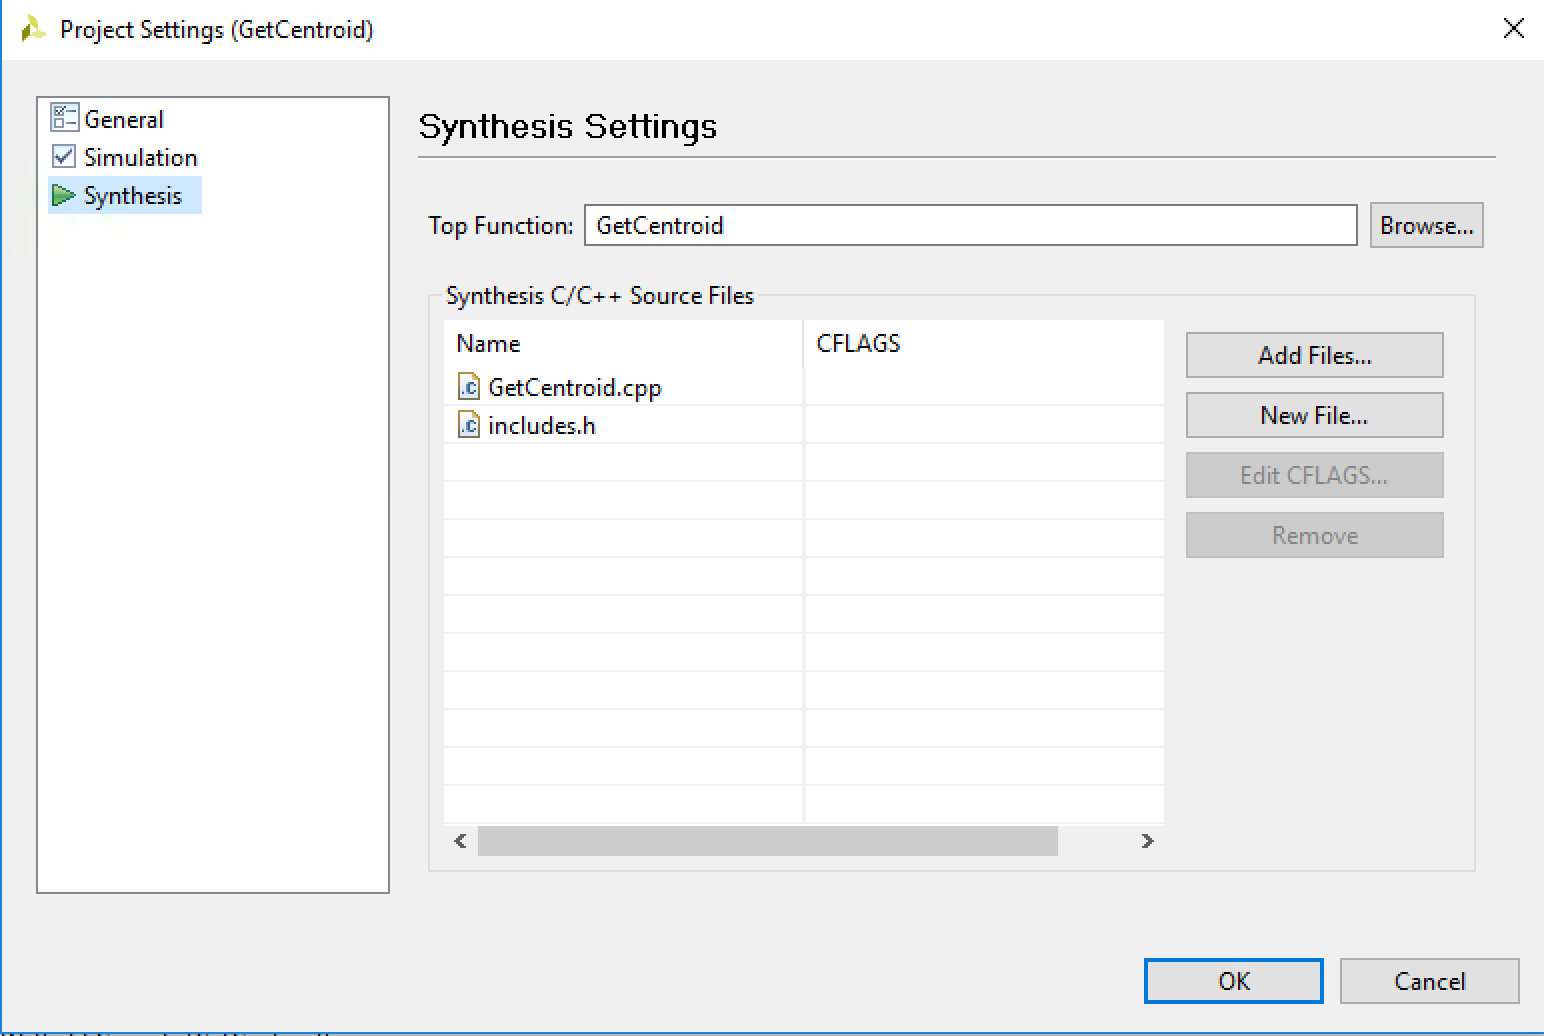
Next, click on Synthesis in the left panel and then click Add Files. Select the files GetCentroid.cpp and includes.h (I'm not sure you need to specify includes.h in both the testbench files and the Synthesis files, but it can only help the somewhat inept compiler to find it). Now your window should look like this (write in GetCentroid into the Top Function text box if you didn't set it up properly to start):
Click OK. Once that's done, double click on the files TestGetCentroid.cpp, GetCentroid.cpp, and includes.h to open them up in the code editor section of HLS. If your screen doesn't look something like the following, you made a mistake.
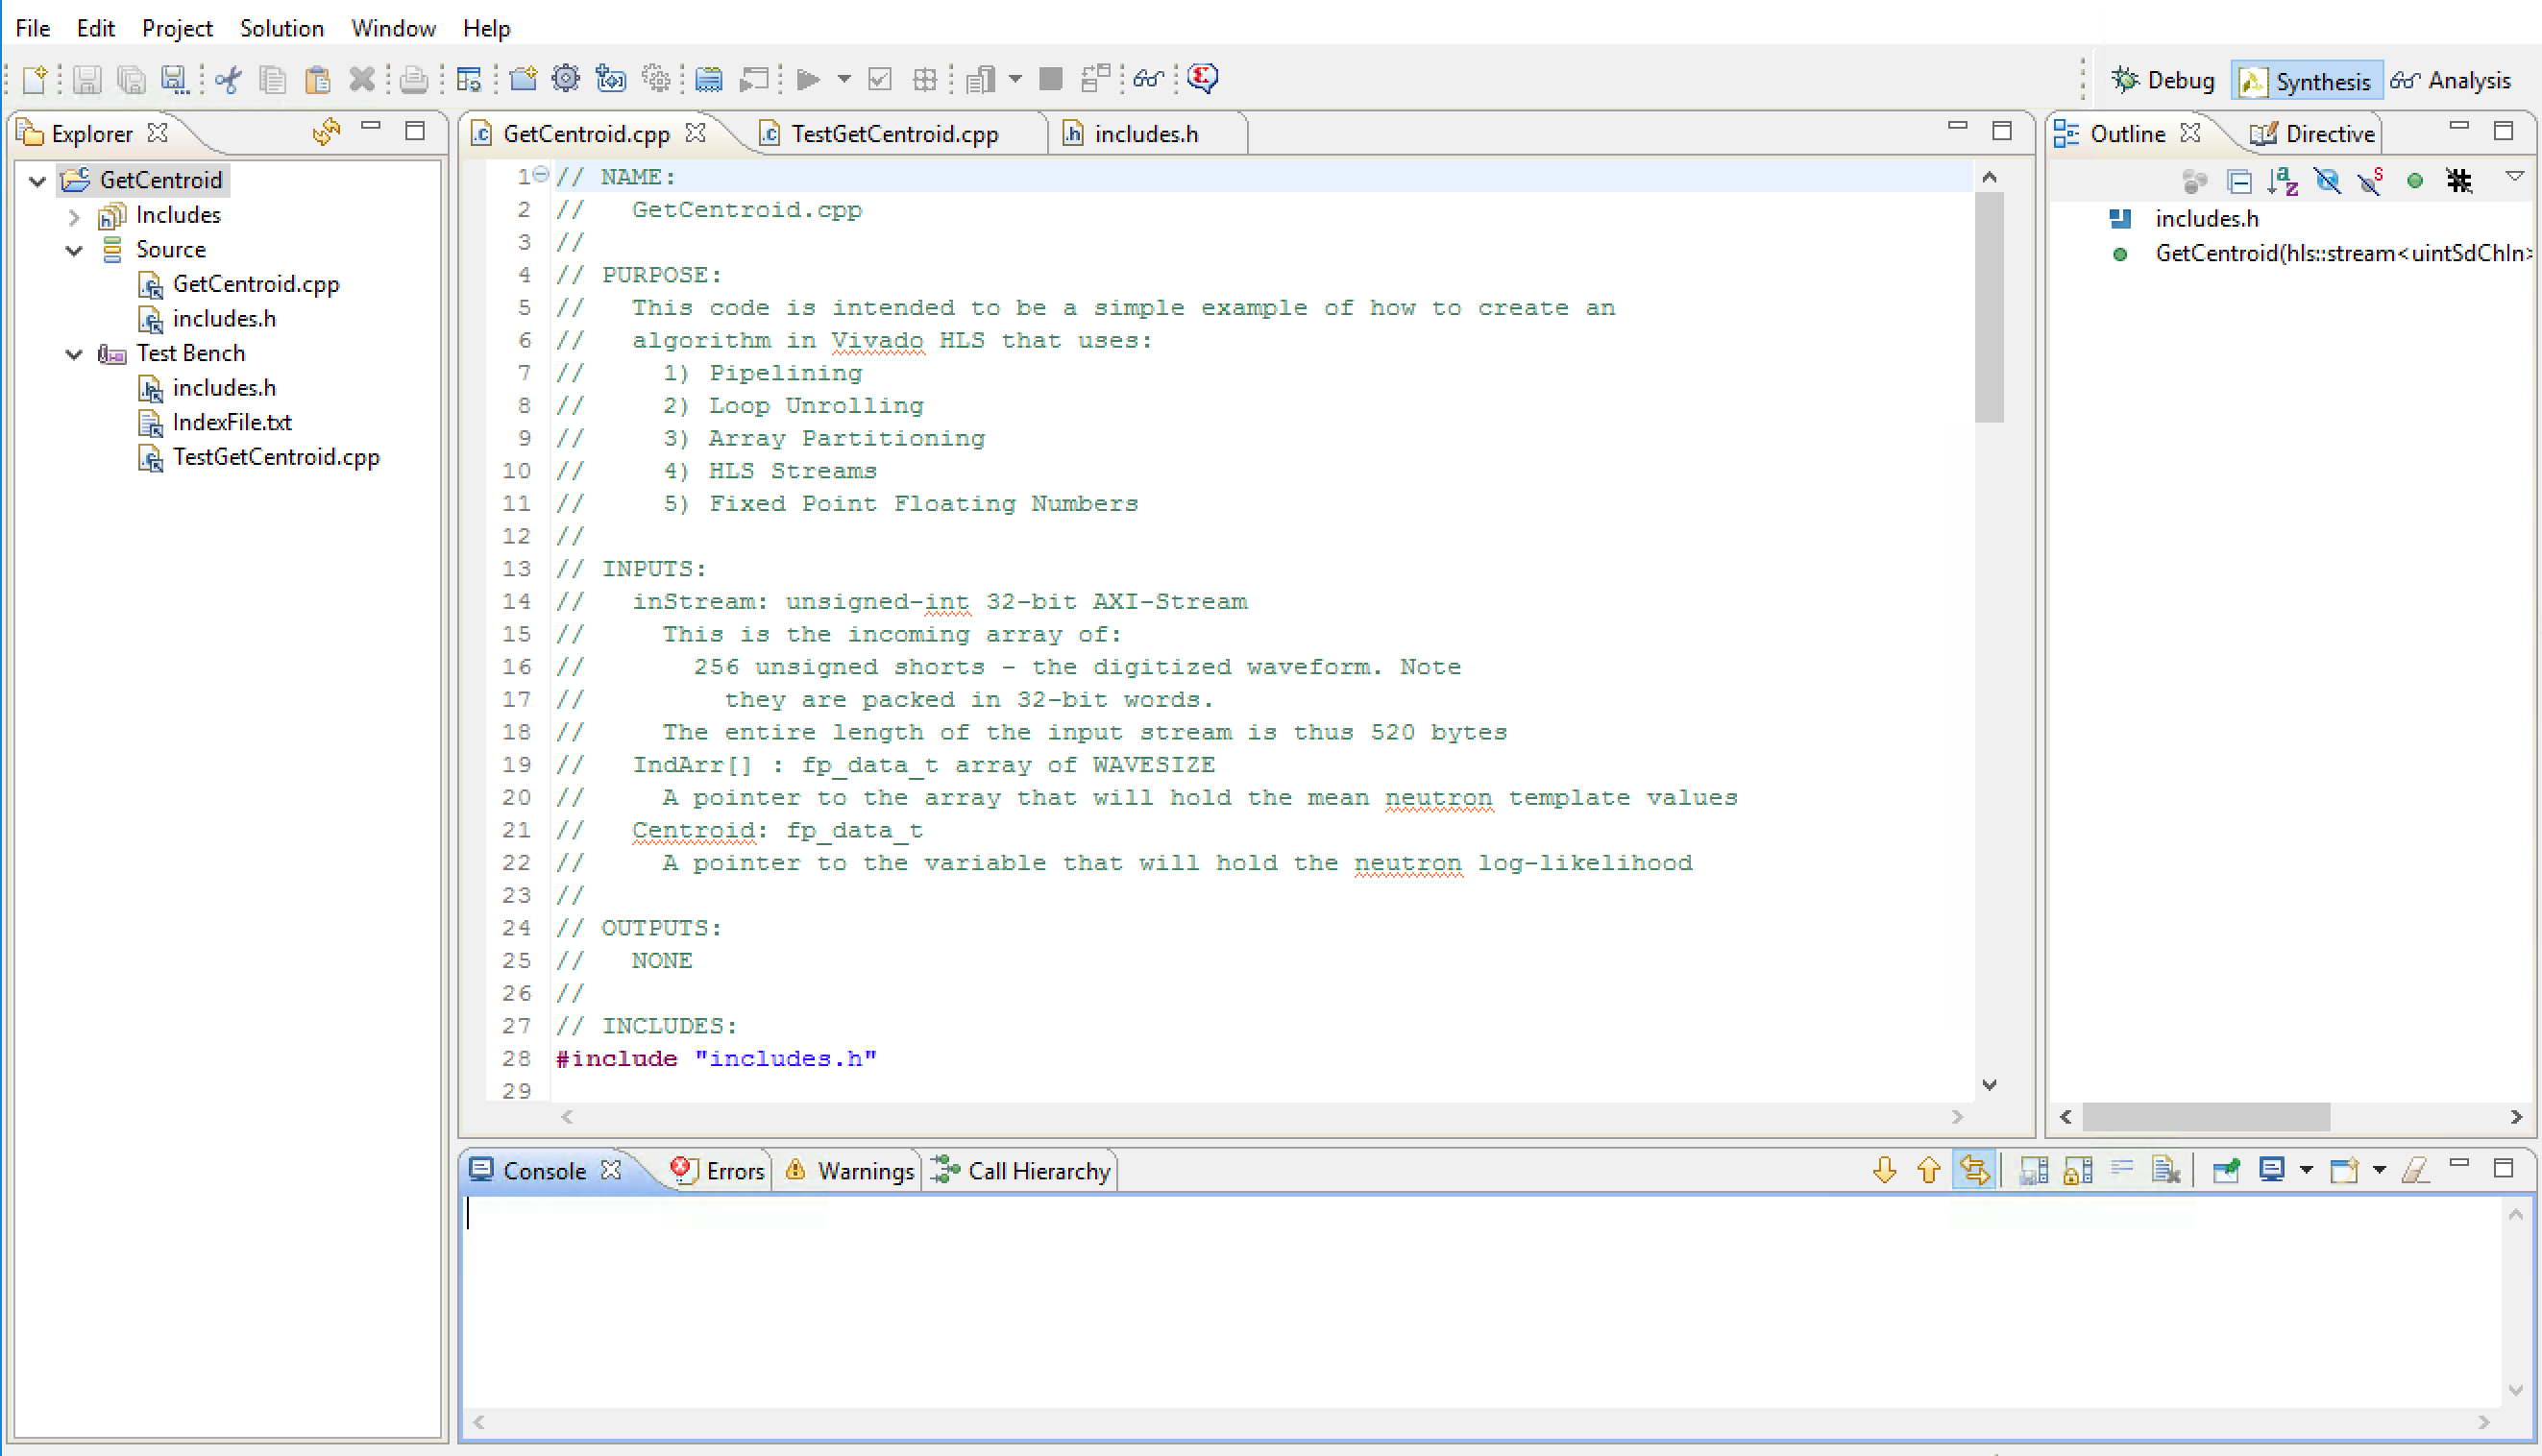
If it does look similar, you're really ready to rock and roll. At this point, you could synthesize the design and run a C Simulation and you'd be good to go importing your design in Vivado Design Suite. But before we do that, I'm going to dive into the code a bit to explain what's going on.
← Previous ... Next →